

Nails are an essential part of personal style, and having well-groomed nails can make you feel more confident. However, getting salon-quality nails at home can be challenging. This is where buying press on nail kits becomes a game-changer. These kits offer a simple, affordable, and time-saving solution for beautiful nails.
In this blog post, we will dive into the benefits of buying press on nail kits, how to use them, and why they are becoming a popular choice for many people. Whether you’re new to press on nails or have been using them for a while, this guide will help you make the most of these convenient nail kits.
Press on nails are pre-designed, pre-painted artificial nails that you apply to your natural nails with adhesive. These kits come with everything you need for a flawless manicure, including the press on nails, adhesives, and sometimes additional tools like a nail file or cuticle pushers.
Many people wonder why they should buy press on nail kits instead of going to a salon or doing their nails themselves. The answer is simple: ease and convenience. With press on nails, you can get a professional-looking manicure without the high cost or time commitment of a salon visit. These kits are also beginner-friendly, making them perfect for anyone who wants a quick and easy way to enhance their nails.
When you buy press on nail kits, you typically receive a set of nails in various sizes, a nail file, an adhesive for applying the nails, and instructions for use. Some premium kits also come with nail art accessories, such as gems, glitter, or stickers, to help you personalize your manicure. The process is simple: select the right size for each nail, apply the adhesive, and press them on your nails.
There are several compelling reasons why more people are choosing to buy press on nail kits. These kits are not only affordable but also offer a wide range of benefits.
Going to a salon for a manicure can be expensive, especially if you get your nails done regularly. Buying press on nail kits is a much more affordable option. These kits are typically priced lower than a single salon visit, and you can reuse them for multiple applications. Moreover, you don’t have to spend time sitting in a salon chair; you can achieve a salon-quality look at home in just a few minutes.
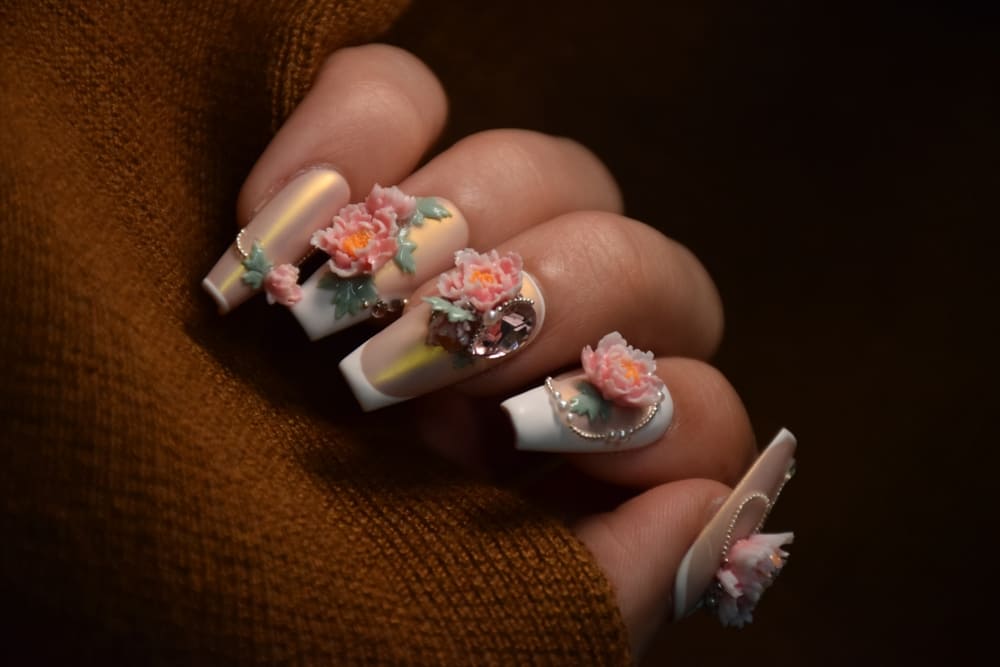
When you buy press on nail kits, you have access to a variety of styles, shapes, and colors. Whether you prefer classic nude nails, trendy designs, or something more unique, there’s a press on nail kit for every style. You can easily switch up your look without having to worry about long drying times or waiting for polish to set.
If you’re feeling creative, you can also add your own flair to your press on nails by painting them, adding rhinestones, or creating unique designs. The possibilities are endless, and with so many options available, you’ll never run out of ways to express yourself.
Time is precious, and press on nails offer a fast way to get beautiful nails without investing a lot of time. Unlike traditional manicures, which can take over an hour, applying press on nails only takes around 15-20 minutes. This makes them perfect for people who are always on the go but still want to maintain a polished, professional appearance.
Using press on nail kits is simple and easy, even for beginners. Here’s a step-by-step guide to help you achieve the perfect manicure:
Before applying the press on nails, you’ll want to prepare your natural nails. Start by gently pushing back your cuticles with a cuticle pusher. Then, file your nails to the desired shape and length. Make sure your nails are clean and free from any oils or lotions.
Next, select the press on nails that best fit each of your natural nails. Most press on nail kits come with multiple sizes, allowing you to find the perfect fit for every finger. It’s important to choose the right size to ensure the nails fit comfortably and securely.
Apply the included adhesive to your natural nails, starting from the base to the tip. Then, place the press on nail on top and gently press down for about 10-15 seconds. Ensure that the nail is securely attached before moving on to the next finger.
If needed, you can file the edges of your press on nails to ensure they fit your desired shape. Some kits also include a nail file to help with this process. This step is optional but can add a more personalized touch to your manicure.
While press on nail kits are known for being durable, there are a few tips you can follow to make sure they last even longer.
While press on nails are designed to withstand normal activities, excessive exposure to water can weaken the adhesive. Try to avoid prolonged water immersion, such as washing dishes or swimming, especially in the first few hours after application.
For added protection and shine, apply a clear top coat over your press on nails. This will help seal in the design and give your nails a glossy, professional finish. It can also help your nails last longer by providing an extra layer of protection.
To prevent damage to your press on nails, avoid using them as tools to open cans or peel labels. This can cause the nails to lift or break. Instead, use your hands or appropriate tools for these tasks.
When it’s time to remove your press on nails, it’s essential to do so carefully to avoid damaging your natural nails. Here’s how to remove them safely:
Soak your nails in warm, soapy water for a few minutes to loosen the adhesive.
Gently lift the edge of each press on nail with a cuticle pusher or orangewood stick.
Slowly peel the press on nail off, starting from the edge.
If needed, use a nail polish remover to clean off any remaining adhesive.
With proper care, your natural nails will remain healthy and undamaged after removing your press on nails.
There’s no doubt that buying press on nail kits is a convenient and affordable way to achieve beautiful nails at home. Whether you’re looking for a quick solution for an upcoming event or want to switch up your style, press on nails offer endless possibilities. With a wide range of designs, shapes, and colors, you can customize your nails to suit your personality and mood.
So, the next time you’re looking to elevate your manicure, consider buying press on nail kits for an easy, stylish, and cost-effective solution.
© 2025 Crivva - Hosted by Airy Hosting Managed Website Hosting.


