

A gas stove is one of the most reliable and efficient kitchen appliances, offering instant heat control, faster cooking, and long-term durability. But to enjoy these benefits safely, gas stove installation must be done correctly and by a certified professional. A poor installation can lead to gas leaks, fire hazards, and long-term damage to the appliance or your property. This guide explains everything homeowners need to know about installing a gas stove—how the process works, what professionals check, common mistakes to avoid, and why expert installation is essential for safety.
Gas appliances require precision and safety compliance. Unlike electric stoves that only need to be plugged in, a gas stove must be connected to your home’s gas supply. Even a minor mistake—like a loose connector or incorrect pressure—can create serious risks.
Correct installation ensures:
Safe, leak-free operation
Proper flame performance
Reduced energy waste
Compliance with local gas codes
Maximum lifespan of your appliance
Professional technicians understand pressure ratings, connection standards, and safety requirements that most homeowners are unaware of. This is why hiring trained experts like Halton Heating And Gas Services is critical for reliable and compliant installation.
Before the gas stove is installed, a technician performs a thorough assessment of your kitchen. This includes:
The installer checks whether an accessible, compatible gas line is already available. If not, a new gas line may need to be extended or upgraded to match the stove’s requirements.
Good ventilation prevents accumulation of fumes. Proper airflow also improves flame stability and reduces carbon monoxide risk.
Modern gas stoves often require an electric outlet for ignition and safety features. The technician confirms that the outlet is in a safe location.
The stove must fit securely into the kitchen layout without touching walls or cabinets. Heat clearance is essential to prevent potential fire risks.
These steps ensure that installation can be completed safely and efficiently.
After the pre-checks are complete, the technician begins the installation process.
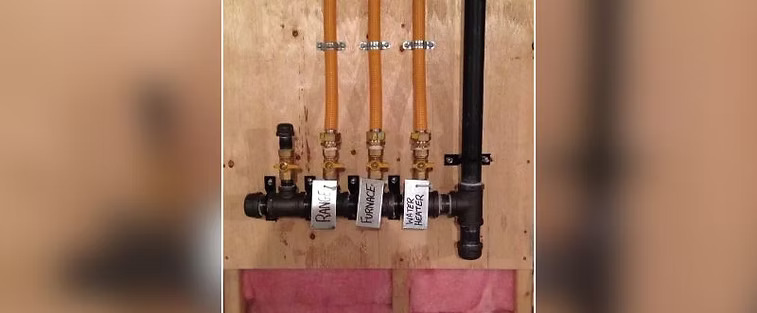
The first step is to shut off the main or branch gas line connected to the stove area. This prevents leaks and ensures a safe working environment.
A certified, flexible stainless-steel gas connector is used to connect the stove to the gas supply line. Professionals avoid using old connectors, as they can be worn or damaged.
Every connection point must be sealed using approved gas thread sealant. This ensures a tight, leak-free fit.
This is one of the most important steps in the entire installation. The technician performs:
Soap bubble test
Line pressure test
Visual checks for any unusual odor or hissing
A stove should never be used until it passes all leak detection procedures.
Once the connection is secure, the stove is pushed into its designated space and leveled. A stable stove ensures even cooking, prevents wobbling, and avoids stress on the connector line.
The installer checks each burner to ensure proper ignition and consistent flame. The flame should burn blue—indicating complete combustion. Yellow or orange flames signal improper airflow or burner blockage.
Technicians also test safety features like flame-failure devices and ignition systems.
Before leaving, the installer explains how to use the gas shut-off valve, signs of a gas leak, and basic safety precautions every homeowner should follow.
Professionals follow industry safety standards, ensuring leak-free installation and proper pressure alignment.
Improper installation can void insurance and violate local gas regulations. Certified technicians ensure your installation is compliant.
Most manufacturers require professional installation to maintain the appliance warranty.
DIY attempts can lead to damaged gas lines, leaks, and long-term hazards. Professionals eliminate these risks.
Correct installation improves flame efficiency, cooking speed, and energy usage.
Even though some homeowners attempt DIY installations, many common mistakes can compromise safety:
Connectors wear out over time. Always use new, certified connectors during installation.
Gas lines that are too low, too high, or poorly positioned can cause strain on the connector.
Gas appliances need proper air circulation. Poor ventilation can cause carbon monoxide buildup.
Never assume connections are safe without a certified leak test.
A stove placed too close to walls or cabinets increases fire risk and damages surrounding surfaces.
Sometimes installation requires a gas line upgrade. You may need one if:
The existing pipe is old or corroded
The stove’s BTU demands exceed the gas line’s capacity
The line is positioned far from the installation point
You’re upgrading from electric to gas
A technician will assess your gas system and recommend whether adjustments are needed.
Keeping your stove in good condition improves safety and extends its lifespan.
Food debris can block burner ports, reducing flame quality.
A steady blue flame indicates proper combustion. Yellow flames should be inspected immediately.
Look for kinks, bending, or corrosion every few months.
Professional maintenance includes burner cleaning, line inspection, and safety checks.
Avoid storing flammable materials near the appliance.
A properly handled gas stove installation ensures you enjoy safe, efficient cooking without the worry of leaks or hazards. From pre-installation inspections to leak tests and final calibration, professional technicians ensure every step is completed with precision. Choosing trained experts ensures long-term reliability, compliance, and peace of mind for your home and family.
© 2025 Crivva - Hosted by Airy Hosting Managed Website Hosting.


