

Revit offers powerful tools for structural engineers and designers to streamline the process of creating detailed rebar schedules and calculating quantities directly from the model. This article explores the step-by-step process of generating rebar schedules, ensuring accuracy, and improving workflow efficiency within Revit.
In the world of structural design, creating accurate and comprehensive rebar schedules and quantities is crucial for ensuring project success. Traditionally, this process has always required long periods of time while producing many errors throughout its execution. This task has become more efficient through Revit’s advanced features.
Revit enables users to create 3D models and performs automatic rebar detail extraction which enables engineers and contractors to access model information directly.
In this article, we will guide you through the steps on how to generate detailed rebar schedules and quantities directly from Revit. You will achieve complete understanding of Revit workflow optimization and structural design accuracy enhancement by the end of this process.
Rebar scheduling in Revit refers to the process of generating comprehensive lists or tables that contain all the necessary details of the rebar used in concrete structures. These schedules provide information such as:
Revit automates this task by extracting data directly from the model which allows users to generate schedules automatically without needing to enter information manually.
The process of generating rebar quantities from Revit provides multiple benefits.
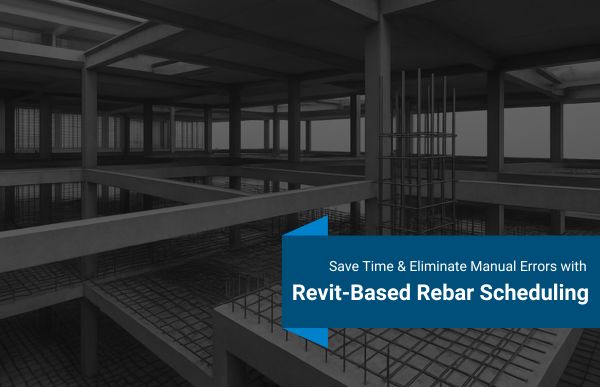
The following section describes the process to generate detailed rebar schedules and quantities from Revit through actual project work.
Before generating a rebar schedule, you need to model the rebar in Revit. Here’s how:
Once the rebar is modeled and all structural elements have been reinforced, you can proceed to generate the schedule.
To generate a rebar schedule:
Revit allows you to choose multiple criteria and apply filters to ensure the schedule only displays the information that’s important for your project.
Revit’s flexibility allows you to customize the appearance and data fields of your rebar schedule. The following steps need to be followed to verify that all essential details exist in the schedule.
Once you have made these adjustments, your rebar schedule will be ready to present or export.
Revit not only generates rebar schedules but also calculates the quantities of materials used. For more accurate results, consider the following:
This process allows complete documentation of rebar quantities which results in improved project planning and reduced construction errors.
To get the best results from your rebar schedules in Revit, keep the following best practices in mind:
Creating detailed rebar schedules and quantities from Revit software leads to better project efficiency, improved accuracy, and enhanced team collaboration for structural work. By following the steps outlined above, structural engineers can save significant time and effort while ensuring that their rebar data is accurate and up to date.
Revit’s powerful automation and customization capabilities make it an indispensable tool for modern structural design.
If you haven’t started using Revit for your rebar scheduling, now is the time to integrate it into your workflow. The first training period needs to happen because it provides benefits from fast production speed, correct part numbers, and effective team collaboration between departments.
Try out the steps discussed and see how Revit can transform your rebar scheduling process today!
The best way to optimize the rebar schedule output is to customize fields to match the specific needs of your project and use filters effectively to display relevant information only.
Yes, Revit can handle complex rebar detailing, including different bar shapes, sizes, and grades, with flexibility to include bending details and custom requirements.
Rebar schedule requires updates whenever design changes happen because changes to rebar positions or sizes need exact quantity monitoring from start to finish of the project.
© 2025 Crivva - Hosted by Airy Hosting Managed Website Hosting.


