

Why photos and light are the backbone of a smile makeover
As restorative dentists, we don’t guess-we measure, record and communicate. High-quality clinical photography and controlled lighting turn subjective esthetics into reproducible steps. Photos capture baseline anatomy, guide design, align expectations and give the lab precise references. Lighting reveals true shade, surface texture and translucency so provisional and final restorations land where they should: natural, balanced and stable.
The standard photo set we use for every case
A consistent series keeps planning efficient and comparable visit to visit. Our baseline set includes:
Camera choices that keep results consistent
Smartphones are improving, but for precision we rely on mirrorless/DSLR bodies with a 90–105 mm macro lens. Macro glass gives distortion-free proportions and lets us work at 1:1 magnification for reliable measurements. We pair the lens with either a ring flash for even illumination or a twin flash when we want to model surface anatomy with gentle shadows. Shooting RAW preserves color and detail for later calibration without degrading image quality. Discover your perfect smile—click to learn more from the top-rated cosmetic dentist in Mitcham.
Lighting that tells the truth about color
Color accuracy starts with light. We set flash color temperature to daylight (around 5500 K) and keep ambient lighting from contaminating the scene. High CRI light sources help enamel, dentin and gingiva read correctly. For shade capture, we also use cross-polarization (a polarizing filter on the flash and a matching filter on the lens) to cut surface glare. With reflections suppressed, intrinsic chroma, value and transition zones become obvious—information our ceramist needs to match neighboring teeth, not just approximate them.
White balance and exposure you can trust
Before we photograph, we place a grey card or calibrated white target intra-orally or in the same plane as the teeth. We set a custom white balance from that reference and keep exposure manual: ISO low (100–200), aperture tight (f/22–f/32) for depth of field and shutter at the camera’s sync speed. This removes exposure drift from shot to shot, so color and brightness remain comparable across appointments and devices.
Using photos to map shape, proportion and midlines
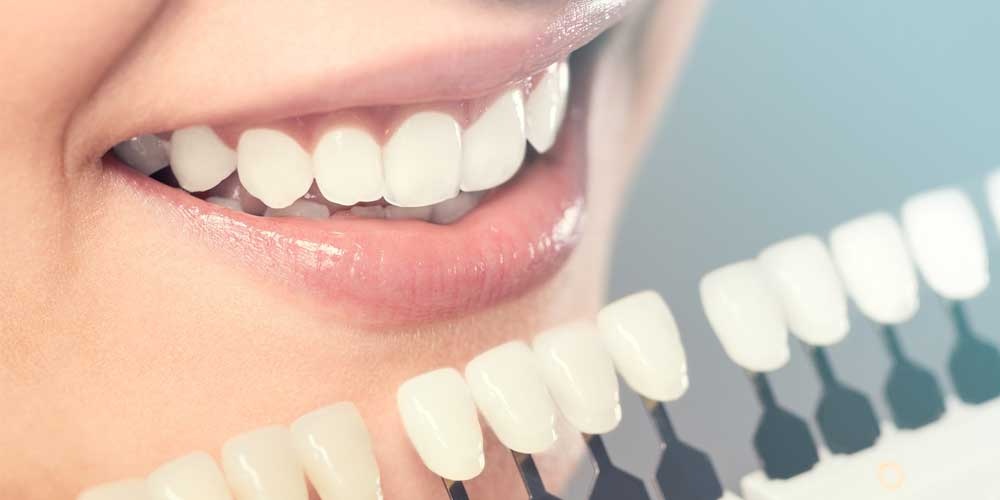
Shade taking that goes beyond a single tab
We photograph a neutral shade tab in the same plane as the tooth, then a darker and lighter tab flanking it for value comparison. With cross-polarized images, we mark zones of higher chroma near the cervical third, areas of incisal translucency and any halo effect. We also capture a non-polarized photo to preserve how the tooth reflects light in real life. The lab receives both sets, which reduces remakes and chair time.
Texture and gloss: the silent influencers of “real”
Two veneers with identical shade can look different if texture and gloss don’t match. We take raking-light photos (flash angled obliquely) to emphasize perikymata, developmental grooves and micro-texture. For final delivery, we verify surface gloss under diffuse and specular light. If a restoration looks “flat,” it’s often a gloss or texture mismatch rather than a shade error.
From mock-up to trial smile-closing the expectation gap
Patients decide with their eyes. We create a reversible mock-up or printed guide based on the photo plan, then photograph the trial smile from our standard angles in the same light. This shows tooth length, buccal corridor and lip support in motion. Side-by-side images make discussions objective: if we need 0.5 mm more incisal display or a softer line angle, everyone sees it before we prep or bond.
Communicating with the lab so nothing gets lost
Managing soft-tissue color and the “pink-white” balance
Lighting that is perfect for enamel should also respect gingiva. We avoid overexposing tissue; otherwise value reads too high and final ceramics trend grey. We record tissue health at the start and after provisionalization. If a crown’s emergence profile needs refinement to guide papilla fill, progress photos under the same light document change and inform the lab about what emergence and contact tightness will support the tissue long-term.
Ethics, consent and data handling you can rely on
We obtain written consent for all photography, with separate permission for educational or marketing use. Files are named with a consistent convention (date_case-ID_view) and stored in encrypted folders. RAW masters remain untouched; exported JPEGs for lab or patient review are color-managed and sized appropriately. This protects privacy and keeps our visual data accurate for future reference.
The in-op lighting setup that speeds chair time
Efficiency comes from a repeatable station:
Calibrating screens so images and ceramics agree
If a lab matches to a photograph and we view that photo on an uncalibrated monitor, we risk chasing our tails. We calibrate displays to a standard luminance and white point and avoid “vivid” modes. When sharing with labs, we include our color profile notes so their viewing conditions approximate ours. That small step prevents value drift and saves a seat-side stain appointment.
Troubleshooting common pitfalls before they cost you
How photography guides minimally invasive decisions
Good pictures reduce over-preparation. By mapping thickness only where value or alignment needs correction—and confirming with a mock-up—we often stay in enamel, improving bond strength and longevity. When small discrepancies are clearly documented, additive bonding or selective recontouring becomes an evidence-based choice, not a compromise.
A simple workflow you can expect at our practice
The result: fewer remakes, faster visits, happier patients
When photography and lighting are disciplined, esthetic dentistry becomes predictable. Shade matches on the first try. Midlines sit where they should. Tissue looks healthy. Most importantly, you can see every step—before we start, during the build and at the finish—so decisions feel clear and collaborative. That’s how we deliver smile makeovers that look right on day one and continue to look right years later.
About Bio.
Ansley has 12 years of experience in the dental world. You can find his thoughts at surgical periodontal blog.
© 2025 Crivva - Hosted by Airy Hosting Managed Website Hosting.


 4")


