

In the vast digital landscape, image format conversion is a fundamental task.
Defining Simplicity in Conversion
A truly simple PNG to JPG converter is characterized by several key attributes:
Intuitive User Interface (UI): The process is immediately understandable. Clear labels, minimal clutter, and a logical flow guide the user effortlessly. There are no confusing menus, hidden settings, or overwhelming options panels.
Minimal Steps: Conversion should be achievable in as few clicks or taps as possible. The ideal flow is often: Select File -> (Optionally Adjust Basic Setting) -> Click Convert -> Download Result.
No Advanced Configuration: Granular controls over JPG encoding parameters (like specific subsampling methods or custom quantization tables) are absent. Complexity is deliberately stripped away.
Accessibility: Requires minimal technical knowledge or prior experience. Anyone, regardless of their familiarity with image formats, can intuitively grasp how to use it.
Quick Results: The focus is on getting the converted JPG file into the user’s hands rapidly, without lengthy processing times or complex setup.
Clear Purpose: The tool does one thing well – convert PNG to JPG – without bundling unrelated features like advanced editing, resizing (beyond basic presets), or watermarking that could complicate the core function.
Where Simplicity Shines: Ideal Use Cases
Simple PNG to JPG converters are perfectly suited for numerous everyday scenarios:
Occasional Users: Individuals who only need to convert images infrequently (e.g., a few times a month) don’t require the overhead of learning complex software.
Urgent Tasks: When you need a PNG converted right now to send in an email, upload to a form, or share in a chat, a simple tool provides the fastest path.
Beginners: Those new to digital image handling benefit immensely from a tool that doesn’t overwhelm them with technical jargon or intricate settings.
Focus on Core Task: When the only requirement is changing the format from PNG to JPG – no resizing, no watermarking, no color correction needed.
Device Limitations: On devices with limited storage space or processing power (older machines, some tablets), lightweight online tools or very basic installed apps are preferable.
Locked-Down Environments: On public computers, library terminals, or corporate machines where installing software is prohibited, simple online converters are the only viable option.
The Landscape of Simple Solutions
Simplicity manifests in different forms:
Built-in Operating System Tools:
Examples: Preview (macOS): Open PNG -> File -> Export -> Choose JPEG + Quality slider. Paint (Windows): Open PNG -> File -> Save As -> Choose JPEG + Quality dropdown. Photos app (Windows/macOS): Limited export options.
Pros: Already installed, zero additional setup, familiar interface.
Cons: Very basic features, limited batch processing (if any), quality control can be rudimentary.
Basic Online Converters:
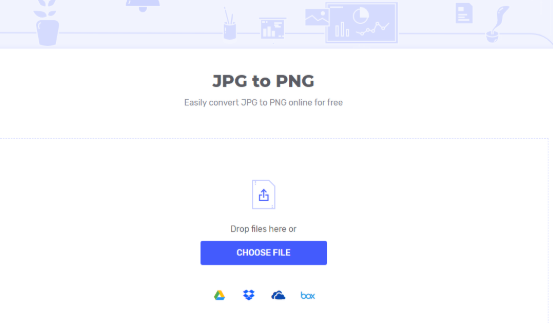
Characteristics: Clean, single-page websites. Large “Upload” button. Often just a quality slider and a “Convert” button. Minimal ads (on reputable ones).
Pros: No installation, accessible anywhere, often free, very fast for single files.
Cons: Internet required, privacy concerns (file upload), file size limits, usually no preview, transparency handling is basic (fixed background color).
Lightweight Desktop Applications:
Examples: Extremely simple dedicated converters (often freeware/shareware), the basic “Save As” function in minimal image viewers.
Pros: Work offline, slightly more control than OS tools sometimes (better quality slider), potentially faster than online for local files.
Cons: Still requires download/installation, may lack batch processing, features remain minimal.
Maximizing the Simple Tool Experience
Even within simplicity, you can optimize results:
Choose Wisely: Select reputable simple tools. For online, look for clean interfaces and clear privacy policies. For desktop, download from official sources to avoid bundled junk.
Leverage the Quality Setting (If Available): Always adjust it. Don’t leave it on the default “Medium” blindly. For photos intended for web/email, “High” (or 75-85%) is usually a safe bet. For graphics/text within images, consider “Very High” (90-95%) if quality is critical. If only presets exist, experiment to see which works best for your needs.
Understand Transparency Loss: Be absolutely certain that replacing transparency with a solid color (usually white) is acceptable for your image before converting. There’s no undo.
Use for Suitable Content: Simple tools work best for converting photographic PNGs or simple graphics where minor quality loss is tolerable. Avoid using them for critical graphics/logos where sharpness is paramount; PNG might remain the better choice, or use a more advanced tool.
Check the Output: Quickly glance at the downloaded JPG, especially if using a new quality setting or tool. Ensure it looks acceptable for its intended purpose.
© 2024 Crivva - Business Promotion. All rights reserved.