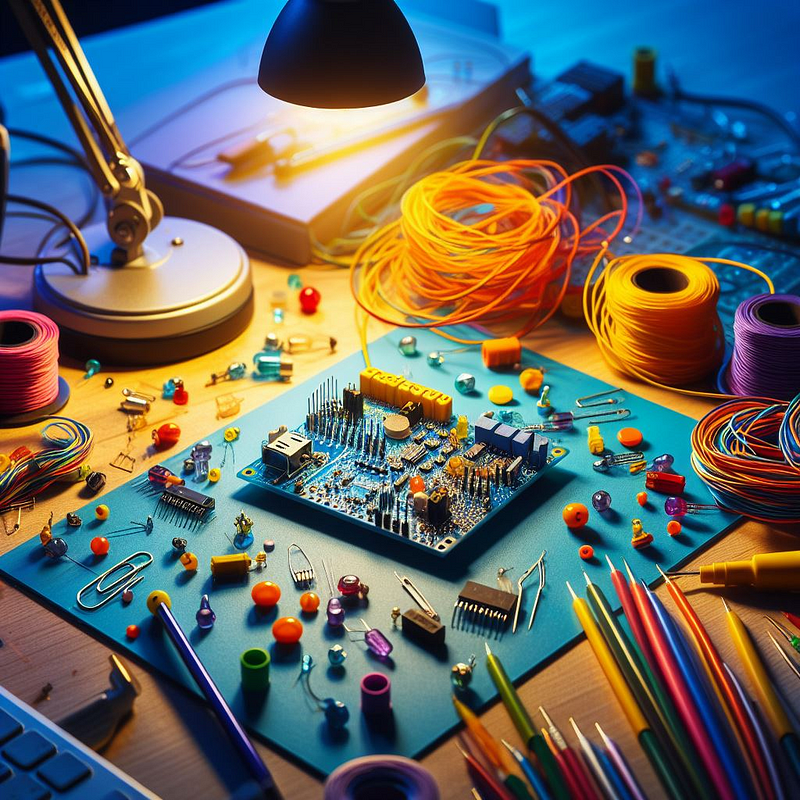

Now, let’s turn the theory into practice! Building your first IoT application is a fantastic way to grasp the potential of the Internet of Things.

Introduction
Now, let’s turn the theory into practice! Building your first IoT application is a fantastic way to grasp the potential of the Internet of Things. By creating a simple project, you’ll gain hands-on experience with sensors, data collection, and potentially some basic programming. This not only reinforces core IoT concepts but also opens the door to exploring more complex applications.
To guide you on this journey, we’ll delve into the exciting world of IoT app development, equipping you with the necessary steps to bring your first IoT creation to life.
The world of IoT development offers a variety of platforms to bring your ideas to life. But for beginners, navigating these options can be daunting. Here, we’ll explore some popular choices that cater perfectly to those starting their IoT journey:
Selecting Sensors and Actuators
The magic of IoT lies in its ability to sense the environment and interact with it. This is where sensors and actuators come into play. Sensors act as the eyes and ears of your project, collecting data on things like temperature, motion, or light. Actuators, on the other hand, are the hands and feet, translating that data into physical actions. Let’s explore some popular options to bring your IoT project to life:
Sensors:
We’ve arrived at the exciting part — writing code for your IoT application! While the specifics will vary depending on your chosen platform and project, here’s a general step-by-step approach to get you started:
1. Include Necessary Libraries:
#include <DHT.h> // Include the DHT library for temperature sensor
#define DHTPIN 2 // Pin connected to the temperature sensor
#define DHTTYPE DHT11 // Type of temperature sensor (consult sensor documentation)
DHT dht(DHTPIN, DHTTYPE);
2. Sensor Data Reading:
void setup() {
Serial.begin(9600); // Initialize serial communication for data output
dht.begin();
}
void loop() {
// Read temperature data from the sensor
float temp = dht.readTemperature();
// Check if reading was successful
if (isnan(temp)) {
Serial.println("Failed to read from sensor!");
return;
}
Serial.print("Temperature: ");
Serial.print(temp);
Serial.println("°C");
delay(2000); // Wait 2 seconds before next reading
}
3. Actuator Control:
int ledPin = 13;
void setup() {
pinMode(ledPin, OUTPUT); // Set pin 13 as output for LED control
}
void loop() {
digitalWrite(ledPin, HIGH); // Turn on the LED
delay(1000); // Wait 1 second
digitalWrite(ledPin, LOW); // Turn off the LED
delay(1000); // Wait 1 second before repeating
}
In conclusion, effectively visualizing your IoT data is paramount to unlocking its true potential. By transforming raw data into clear and informative visuals, you can gain valuable insights into your project’s performance, identify trends, and make data-driven decisions. With a plethora of data visualization tools available, choosing the right one can be daunting. This is where partnering with an experienced IoT app development company proves invaluable.
