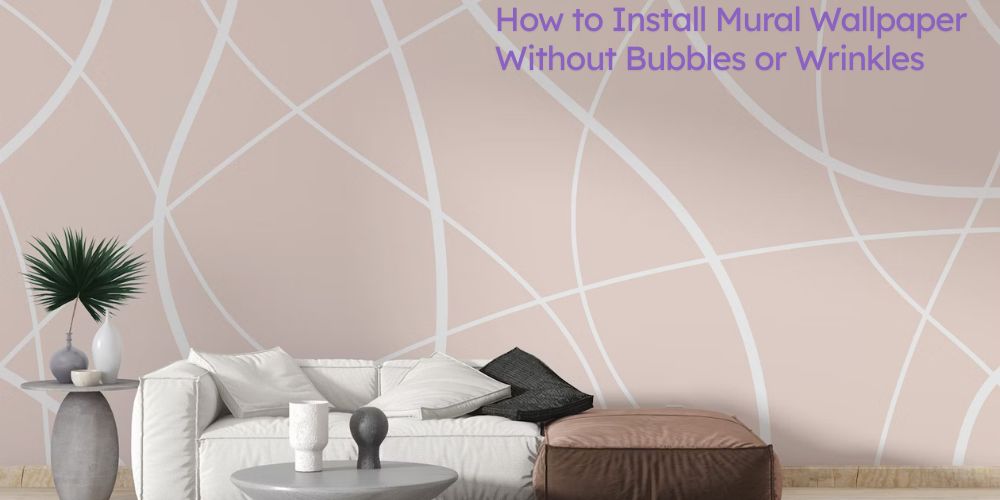
we’ll guide you through the key steps to get your mural looking perfect from edge to edge
Mounting mural wallpaper is a great way to change your interior space. Whether you want to make a dramatic statement or bring a peaceful landscape into your living space, mural wallpaper provides an immersive visual experience that enhances your space. But nothing ruins that effect quicker than air bubbles, crooked panels, or ugly wrinkles.
Don’t stress we’ve got you covered. With proper preparation, the right tools, and a bit of technique, you can have mural wallpaper installed smoothly and with satisfaction, even if you’re a novice. Starting with measuring your wall and preparing the surface to lining up panels with accuracy and ironing out every single bubble, we’ll guide you through the key steps to get your mural looking perfect from edge to edge.
Before we dive into the installation instructions, let’s take a little time to learn why mural wallpaper is so favored. Murals are typically bespoke-sized to specifically fit your wall, which means they are well-suited as statement pieces. They provide immersed scenes and aesthetic appeal that run-of-the-mill prints are not able to match.
If you’re still considering mural versus standard wallpaper, this comparison guide assists in demystifying the advantages of each style.
Prepare Your Wall
Make sure your wall is dry, clean, and smooth. Scrape off old paint, dust, or peeling wallpaper. Patch holes or flaws and sand lightly if necessary. A properly prepared wall will make for a smoother adhesion and a perfect finish.
Plan Your Layout
Measure your wall and arrange the mural panels according to the design. Use a pencil and level to mark light guide lines. Most mural wallpapers are labeled or numbered, so be sure to follow the correct order for seamless alignment.
Choose the Right Adhesive
Test to see if your mural is peel-and-stick or paste-on. For paste-on murals, spread adhesive evenly using a roller or brush don’t use too much, as it can create wrinkles, or too little, which can produce air bubbles.
Install One Panel at a Time
Begin in the center of the top of the wall and insert the mural into position with caution, pushing out from the middle towards the exterior. Insert air bubbles toward the borders by pressing on them softly using a plastic smoother or a wallpaper brush.
For peel-and-stick murals, peel away a little bit of the backing at a time and apply gradually, smoothing as you go. Take a look at inspiration piece on statement mural wallpaper for creative ideas.
Smooth It Out
Even when taking care, tiny bubbles may form. Don’t worry! Pinch the bubble out with a smoothing tool or pin-prick and push the air out slowly. For deeper wrinkles, gently peel back and re-position the mural before smoothing again.
Common Mistakes to Avoid
Absolutely. With the proper technique, you can hang mural wallpaper bubble- and wrinkle-free and the end result is a room that looks higher end, more creative, and completely yours. If you’re wondering if mural wallpaper is worth it in the long run, this cost vs. benefit analysis runs the gamut from durability to looks.
Final Thoughts
Putting up mural wallpaper is simpler than it appears when you do the right things and remain patient. The secret is preparation, accuracy, and knowing how to deal with bubbles or wrinkles if they happen. Ready to try? Let mural wallpaper be the art that redecorates your walls this guide is ideal for anyone who wants to begin their journey.