Norway, with its breathtaking landscapes, rich cultural heritage, and vibrant cities, is a popular destination for travelers.
Norway, with its breathtaking landscapes, rich cultural heritage, and vibrant cities, is a popular destination for travelers. If you’re planning to visit Norway for tourism, you may need a Norway visa, also known as a Schengen visa, depending on your nationality. This visa allows you to visit Norway and other Schengen countries for up to 90 days within a 180-day period. Applying for a Norway tourist visa can seem like a daunting task, but with the right guidance, the process can be straightforward.

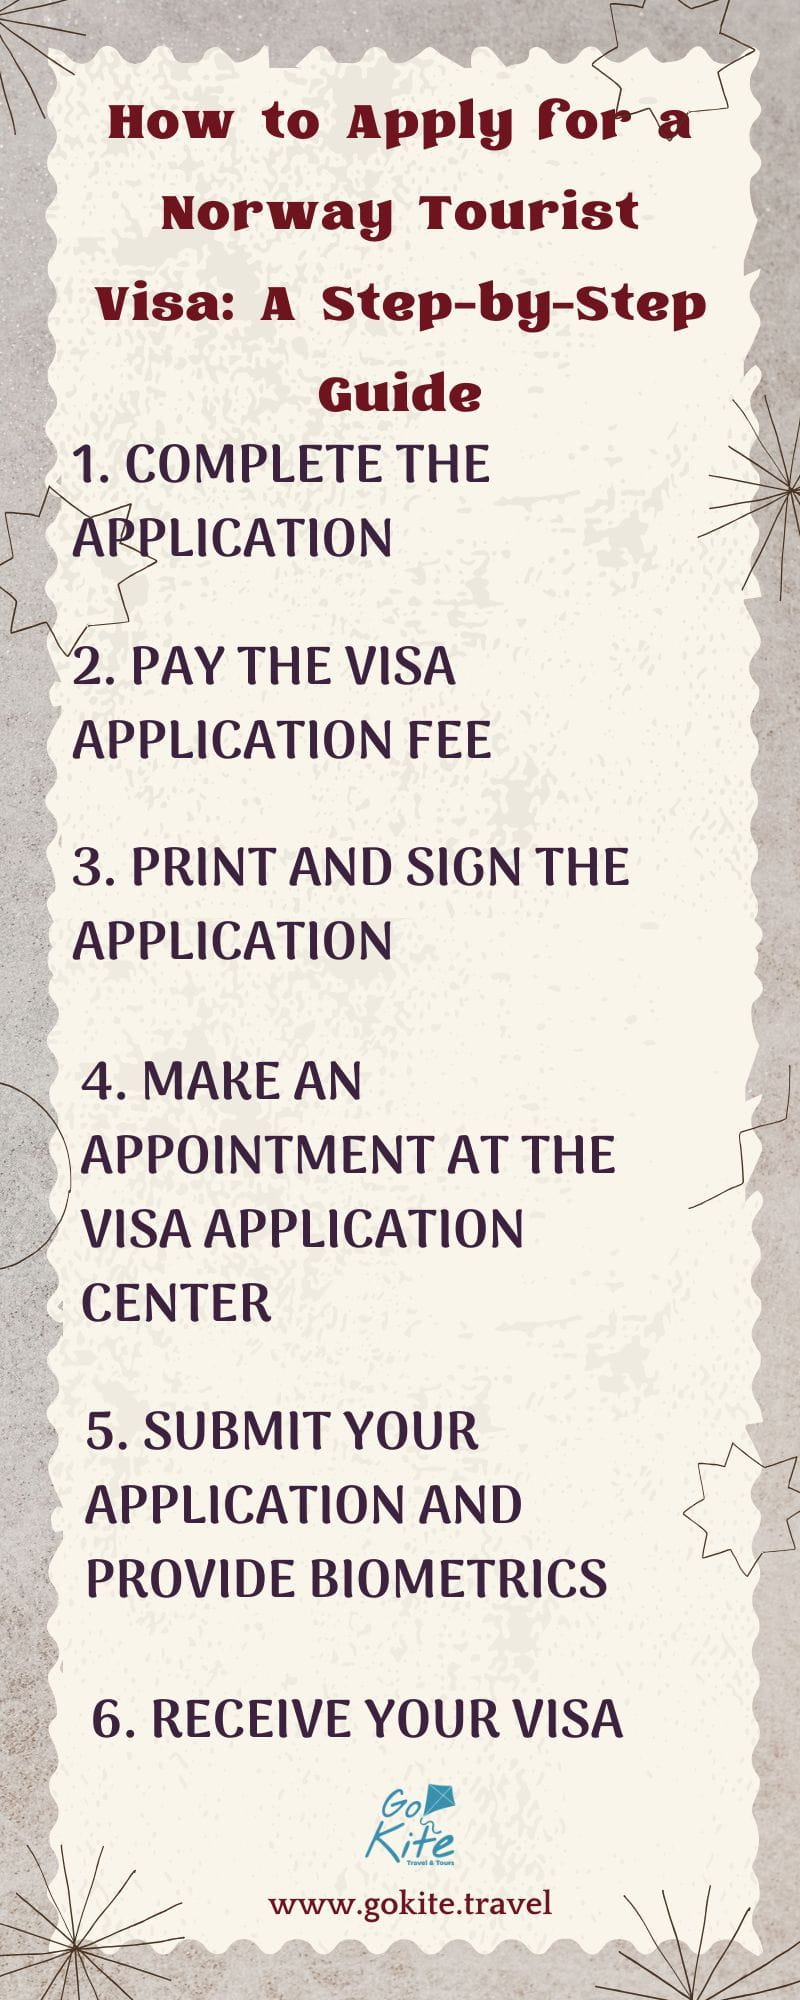
1. Complete the application: The first step in applying for a Norway tourist visa is to complete your application form. This can be done online through the UDI website (the Norwegian Directorate of Immigration). The online application process is user-friendly and guides you through all the necessary fields. Alternatively, you can use a visa service provider like Akbar Travels or iVisa, which can help streamline the process, especially if you are unfamiliar with visa application procedures. These services will assist you in filling out the form and submitting it on your behalf.
2. Pay the Visa Application Fee: Once you’ve completed the application form, the next step is to pay the visa application fee. The fee must be paid online through the UDI or visa service website. The fee for a Norway tourist visa is typically around 80 euros, but the amount may vary depending on your nationality and specific application circumstances. Ensure that you keep a copy of the payment confirmation, as you may need it later during the application process.
3. Print and sign the application: After completing the application form and paying the fee, you will receive a confirmation email from UDI. This email will include your application number and a PDF document containing your completed visa application form. You need to print this form and sign it. It is important to double-check all the information on the printed application to make sure it is correct before submitting it.
4. Make an appointment at the Visa Application Center (VAC): After printing and signing the application, you need to schedule an appointment at a Visa Application Center (VAC) to submit your documents and provide your biometrics. This can be done electronically on the VFS website, which handles Norway visa applications in many countries. Booking an appointment in advance is crucial, as VACs can get busy, especially during peak travel seasons. It’s advisable to make your appointment as early as possible to avoid delays in your travel plans.
5. Submit Your Application and Provide Biometrics: On the day of your appointment, you will need to visit the VAC in person to submit your visa application, supporting documents, and biometrics. The VAC will collect your biometrics, which include your photograph and fingerprints. Biometrics are required for security purposes and to verify your identity. Make sure you bring all the necessary documents, including your passport, travel itinerary, travel insurance, proof of accommodation, and proof of financial means. Failing to provide any required documents may delay your visa processing or result in rejection.
6. Receive Your Visa: After submitting your application and providing your biometrics, the processing time for a Norway tourist visa typically takes around 15 days. However, during peak seasons, it may take longer. Once your visa is approved, you will receive it at the VAC or by post, depending on the option you selected during your application. Your visa will allow you to travel to Norway for the duration specified, usually up to 90 days within a 180-day period.
Applying for a Norway visa is a manageable process if you follow the required steps carefully. From completing the online application to submitting your documents and biometrics at the Visa Application Center (VAC), each stage plays a crucial role in ensuring the success of your visa application. Remember to double-check your documentation, including your valid passport, proof of financial means, and travel insurance, to avoid any delays or rejections.
Also Check Out:
© 2024 Crivva - Business Promotion. All rights reserved.