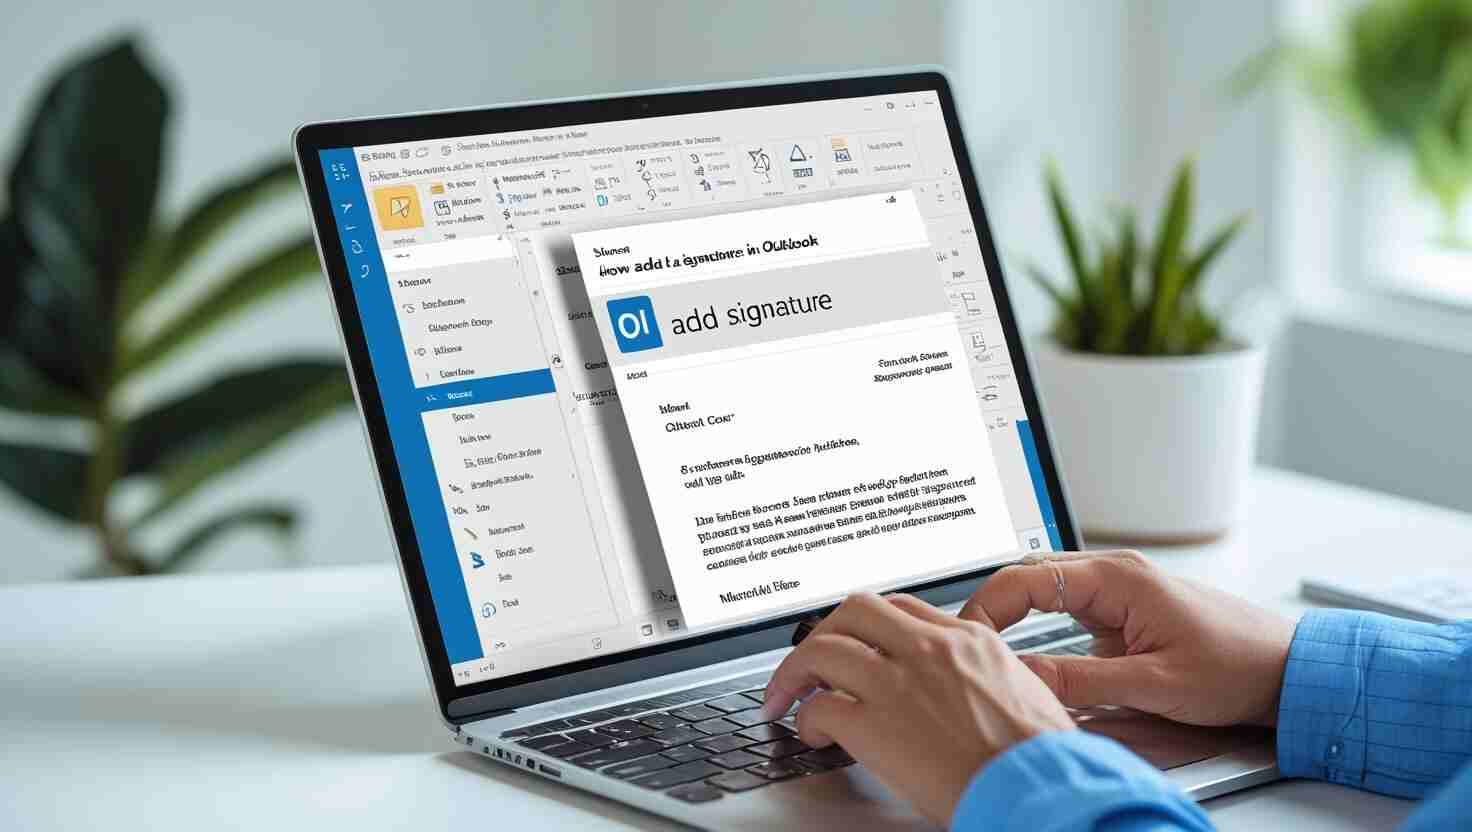


Learn how to add a signature in Outlook step-by-step for desktop, web, and mobile. Includes a business email signature example and easy tips for all users.
Adding a signature to your email in Outlook will help make the message appear more professional. You can be a student, a teacher or a business owner but by including a signature, other people will know by whom, what, and how they can communicate with you. This article will reveal to you the easy steps of adding a signature in Outlook. We’ll also show you a business email signature example and tips on how to make your email signature look great.
Let’s get started!
An email signature is a block of text or image added at the bottom of your email message. It usually includes your name, job title, phone number, website, and sometimes your company logo or social media links.
For example:
nginx
CopyEdit
Best regards, Ananya Sharma Marketing Manager | BrightTech Pvt. Ltd. +91-9876543210 www.brighttech.in
This saves time and shows professionalism. You don’t have to type your information every time you send an email.
Here are some good reasons to add a signature in Outlook:
Follow these simple steps to add your signature in the desktop version:
Open your Outlook application on your computer.
Click on File in the top-left corner, then click on Options.
In the Options window, click on Mail from the left menu.
Under the section Create or modify signatures for messages, click on the Signatures button.
Click New, give your signature a name (e.g., “Work Signature”), and then type your signature in the box.
Here’s a business email signature example you can use:
swift
Thanks, Rajiv Mehta Sales Executive | Elite Electronics+91-9871234567 [email protected] www.eliteelectronics.com LinkedIn: linkedin.com/in/rajivmehta
You can also format the text using bold, colors, and add images like your logo.
Step 6: Set Signature Defaults
Choose your new signature as the default for New Messages and Replies/Forwards.
Step 7: Save and Close
Click OK, then again OK to exit.
That’s it! Your signature will now appear automatically in your emails.
If you use Outlook in your browser, follow these steps:
Go to https://outlook.live.com or your Office 365 email.
It’s on the top-right corner.
Scroll to the bottom of the menu and click this option.
Under Mail settings, choose Compose and reply.
Type your signature in the text box. You can use the toolbar to format text, add links, or insert an image.
Here’s a simple business email signature example:
nginx
Warm regards, Ayesha Khan Content Writer | Spark Media +91-9812345678 ✉️ [email protected] www.sparkmedia.in
Check the boxes to:
Click the Save button at the bottom.
Now your signature will be added to all your emails automatically.
Here are a few simple tips to make your email signature effective:
Incorporation of signature in Outlook is an intelligent move and a straightforward way of boosting your communication via email. It helps your mail to look more professional and it is time-saving. Either you send messages at work, school, or for personal use, a helpful and clean signature may make a big difference.
Wish to respond to mails quicker and more effectively? It is also possible to save time using clever tools. Discover more about Extract Mails to get automation in your email handling.
