

ZDigitizing is offering a wide range of digitizing solutions to meet the needs of businesses and individuals alike. With expertise in logo digitizing.
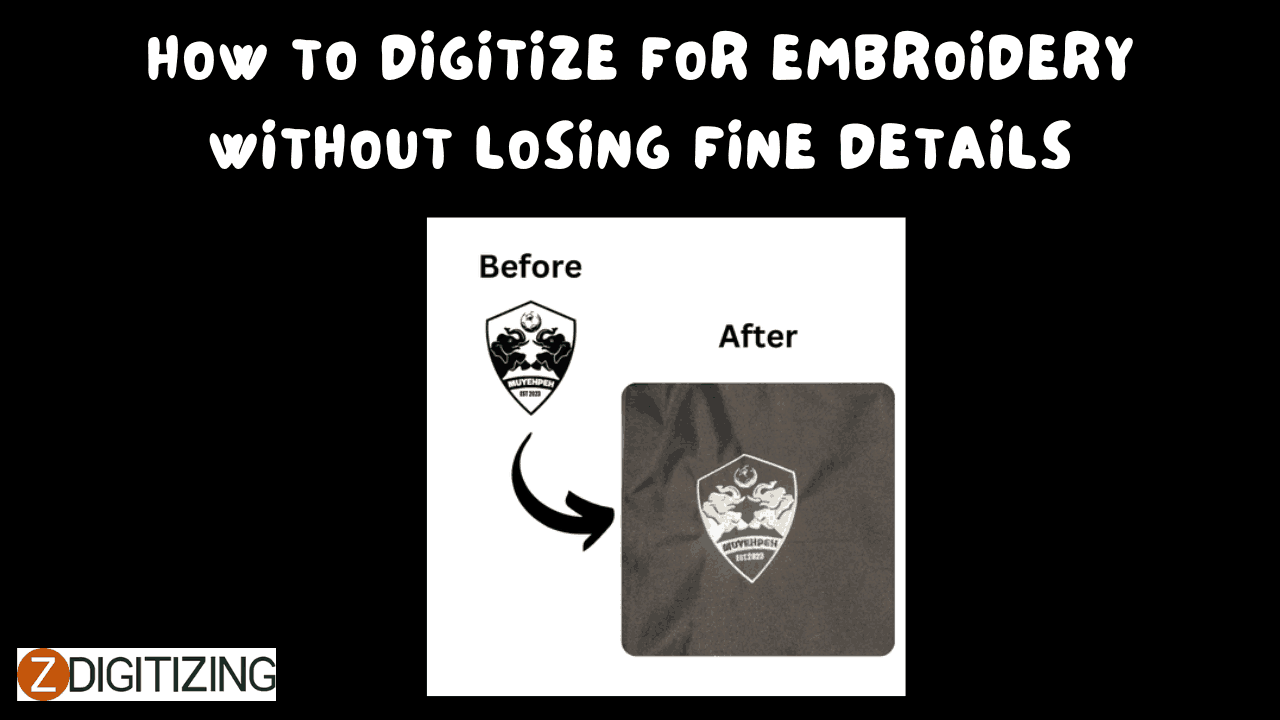
Embroidery digitizing transforms artwork into stitchable designs, but preserving fine details—like delicate lines or small text—can be a challenge. Thread and fabric don’t always capture the nuance of a digital image, often blurring or losing intricate elements. How do you digitize for embroidery without losing fine details? This guide walks you through the process, step-by-step, ensuring your designs stay sharp and true to the original. Whether it’s a logo with tiny accents or a detailed illustration, here’s how to keep every detail intact.
Embroidery relies on thread, not pixels—fine lines under 0.25 inches or complex textures can blur, clump, or vanish when stitched. Fabric type, stitch density, and machine limits all play a role. Preserving details requires smart digitizing—balancing design fidelity with embroidery’s physical constraints. Master this, and your work will shine with precision.
To keep fine details, gather these essentials:
A blurry or overly complex design loses details before you even digitize—clarity starts here.
Zoom in on your design—if details vanish at 200%, they won’t stitch well.
Stitch types define how details render—wrong choices blur or overwhelm small elements.
Test stitch types in your software’s simulator—watch how they hold detail.
Density, length, and compensation can make or break fine details—fine-tuning keeps them visible.
Check your software’s stitch properties—small tweaks make big differences.
Preserving fine details in embroidery digitizing elevates your work—logos stay recognizable, text stays legible, and art stays true. It saves re-dos, boosts professionalism, and wows clients or recipients. In 2025, with free tools like Ink/Stitch or affordable Hatch, detail retention is within reach. Whether it’s a delicate script or a subtle accent, every stitch counts.
Digitizing for embroidery without losing fine details is about precision—balancing design, stitches, and fabric. These five steps—starting with a clear design, choosing detail-friendly stitches, adjusting settings, optimizing for fabric, and testing—ensure nothing gets lost in translation. Grab your software, pick a detailed design, and start digitizing. From tiny lines to intricate shapes, your embroidery is about to capture every nuance—sharp, clear, and flawless!
Wilcom—pro precision; Hatch for easy detail control.
Yes—Ink/Stitch excels with manual running stitches for fine lines.
Too dense—reduce to 0.5–0.6mm or use satin instead of fills.
0.25 inches—below that, details merge; test to confirm.
Thick fabrics hide them—use toppers; stretchy distorts—use cut-away.
