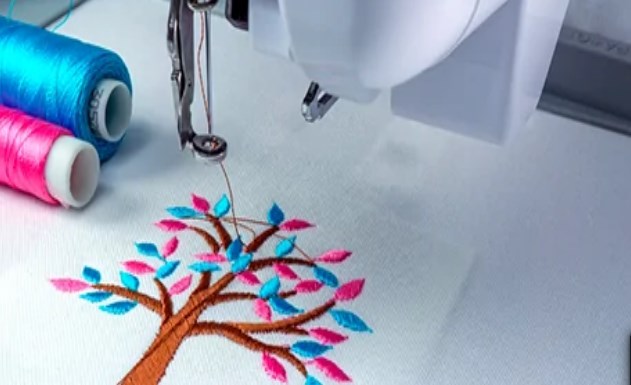


Proper digitizing ensures high-quality embroidery by using clear images, adjusting stitches, testing on fabric, and avoiding design complexity.
Digitizing images for embroidery – Absolute Digitizing is key to creating custom, high-quality designs. Whether for business branding or personal projects, understanding the digitizing process can be the difference between polished embroidery and a less impressive final product. Here’s how to avoid common pitfalls in the digitizing process.
Digitization converts an image into a stitch-ready format that embroidery machines can interpret. Mistakes in this process can lead to errors like poor alignment, stitching issues, or lost details, all affecting the final appearance.
Importance of High-Resolution Images: Starting with a low-quality image limits clarity and makes it harder for digitizing software to identify clean lines.
How Image Quality Affects Design: Poor-quality images can lead to uneven, unclear stitching, especially in intricate designs.
Choosing the Right Image: Use high-resolution images, ideally 300 DPI, and vector formats like SVG or AI for best results.
Understanding Stitch Density: Stitch density is the space between stitches in a design. Overlooking it can cause fabric bunching or stiffness.
Problems with Incorrect Density: High density can lead to a stiff design, while low density can cause gaps.
Setting the Right Density: Adjust stitch density based on fabric type—higher for thicker fabrics, lower for thinner ones.
Different Stitches for Different Parts: Different elements, like text or outlines, require different stitches. Satin stitches work well for letters, while fill stitches cover larger areas.
Effects of Wrong Stitch Types: Incorrect stitches can distort details or make text hard to read.
Selecting the Right Stitch: Use running stitches for small details, satin stitches for text, and fill stitches for larger areas.
Why Fabric Matters: Each fabric type reacts differently to stitches. Stretchy or lightweight fabrics may need different settings.
Common Fabric-Related Issues: Without adjusting for fabric type, you may see puckering or thread breakage.
Adjusting for Each Fabric: Use lower density for stretch fabrics to avoid puckering, and test on a sample swatch before finalizing the design.
Purpose of Underlay Stitches: Underlay stitches stabilize the design and provide a solid foundation.
Consequences of Skipping Underlay: Without underlay, designs may shift or lose shape, especially on lightweight fabrics.
Choosing the Right Underlay: Use simple edge-run underlay for small designs and more complex underlay for larger ones.
Impact of Thread Choice: Quality thread and consistent colors are vital for professional results. Low-quality threads can break or fade, impacting durability.
Common Mistakes: Cheap threads may cause color fading or thread breaks. Inconsistent colors can look unprofessional.
Choosing Threads: Invest in high-quality threads that match your brand colors. Test on sample fabric to verify colors.
Why Size Matters: Embroidery designs don’t scale as images do. Enlarging or shrinking a design without adjusting stitch settings can distort details.
Problems from Ignoring Size: Resizing without adjustments can result in overlapping or gaps in stitches.
Steps to Adjust Correctly: Adjust stitch length and density to match the new size, and preview the design.
Importance of Previewing: Previewing the design in digitizing software’s simulation feature can catch errors before stitching.
Common Mistakes When Skipping: Skipping the preview may result in alignment issues or thread breaks.
Effective Previewing Tips: Use software’s 3D preview to check stitch flow, color choices, and alignment. Testing on sample fabric is also helpful.
Simplicity in Embroidery: Overly complex designs often don’t translate well, with fine details blending together.
Problems with Excessive Detail: Too many details can make a design look cluttered or hard to read.
Simplifying for Better Results: Remove fine lines and unnecessary elements for a clearer result.
Why Testing Is Essential: Testing helps spot errors before final embroidery, preventing costly mistakes.
Consequences of Skipping: Issues like fabric puckering or thread breaks may only appear during actual stitching.
Testing Tips: Stitch out on a sample similar to your final fabric. Adjust settings based on how the design stitches out.
Effective digitizing is essential for creating high-quality, professional embroidery. Avoiding these common mistakes—like using low-resolution images, ignoring stitch density, and skipping previews—ensures your design is well-prepared. Working with a trusted service like Absolute Digitizing can also help guarantee that each element of your design is optimized for embroidery. By carefully planning each step and relying on expert services, you’ll achieve beautiful, durable embroidery that truly stands out.
