

Ensure a secure and stable batting cage setup with our 9″ x 5/8″ steel turnbuckle, designed specifically for connecting steel cables to wall plates.
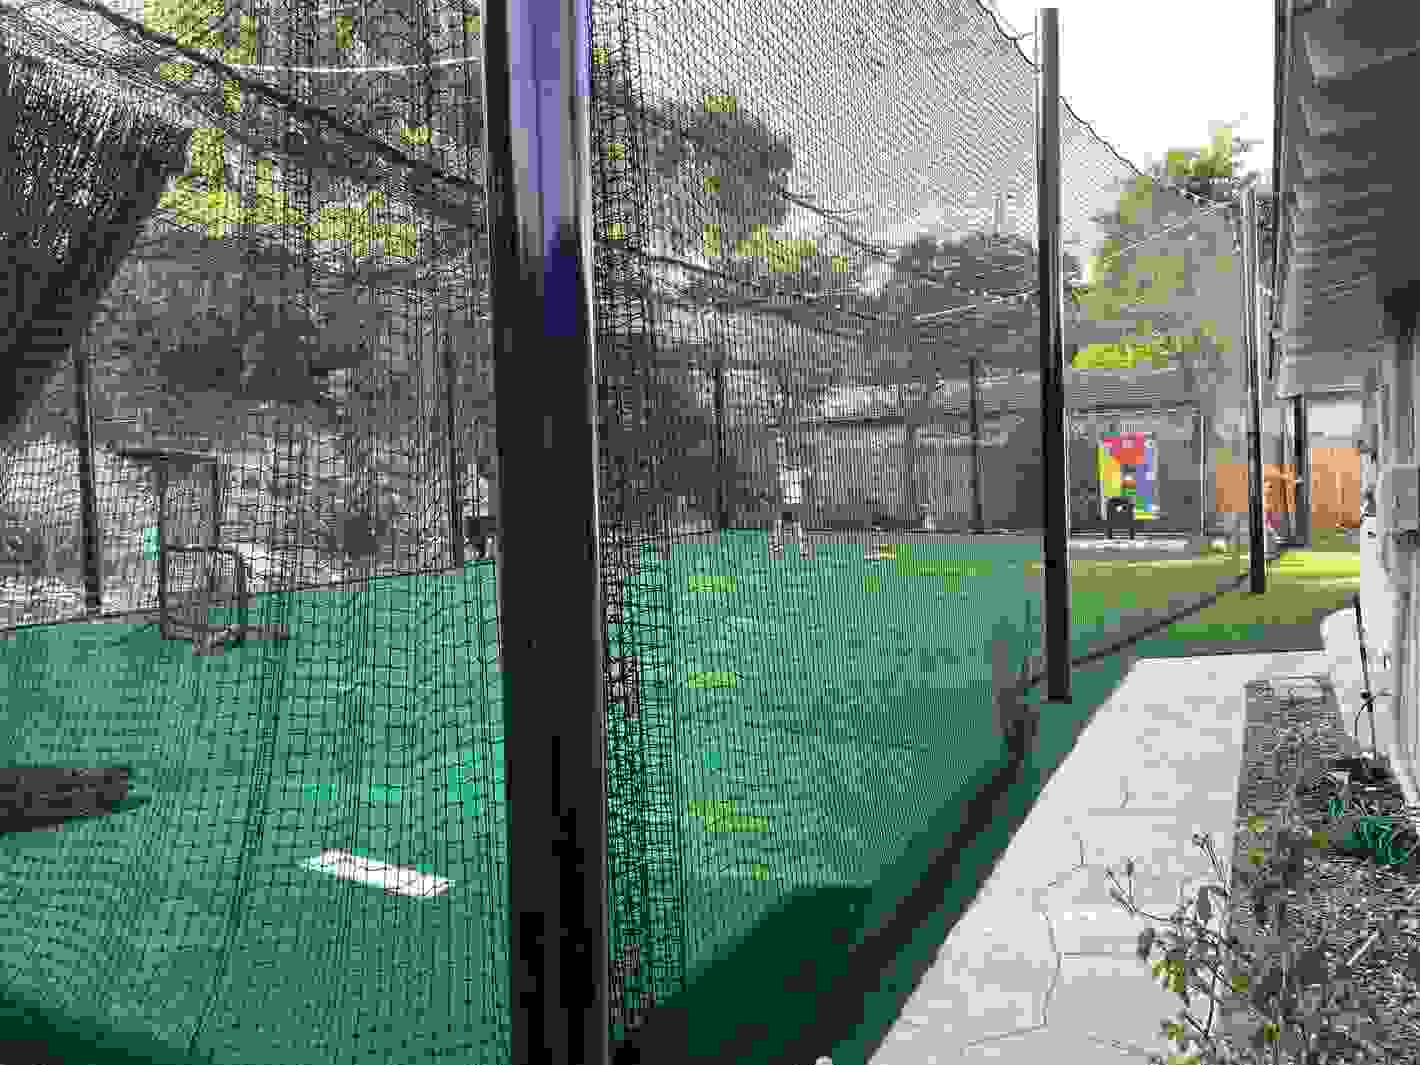
Imagine stepping into your backyard or training facility, ready to take powerful swings in a well-built batting cage. Whether you’re a baseball enthusiast, a coach, or a parent setting up a practice area for your child, installing batting cage hardware correctly is crucial for safety, durability, and a great training experience. A properly installed batting cage allows you to practice without worrying about structural failures or excessive wear and tear.
One of the key components of a batting cage is batting cage hardware. The quality and installation of the hardware determine how long your setup lasts and how effectively it functions. This guide will take you through every step, from choosing the right hardware to securing it for maximum efficiency. Whether you’re setting up an indoor or outdoor cage, this article provides detailed, practical steps to help you install your batting cage like a pro.
Before diving into the installation process, it’s important to understand what constitutes batting cage hardware. These components hold everything together, ensuring the cage remains sturdy and functional.
Choosing high-quality batting cage hardware ensures your setup remains durable and safe for years to come.
The first step in setting up a batting cage is choosing the right location. Consider the following factors:
The frame is the backbone of the batting cage, so installing it correctly is crucial.
Tension cables prevent sagging and help maintain the net’s shape.
The installation time varies depending on the size and type of cage. A standard setup can take anywhere from 4 to 8 hours.
It’s recommended to install on a level surface. If the ground is uneven, you may need additional leveling tools or modifications.
Steel and aluminum are the most durable materials, with steel being heavier and sturdier for outdoor use.
Use ground anchors, additional weights, and sturdy hardware to secure the frame properly.
Installing batting cage hardware may seem complex, but with the right approach, it becomes a manageable task. A well-set-up batting cage provides a reliable space for practice, whether for personal training or team drills. Investing in durable batting cage hardware ensures a stable, long-lasting setup. By following the steps outlined in this guide, you’ll be able to install your batting cage like a pro and enjoy uninterrupted training sessions for years to come.
