Arduino boards make electronics easy for both beginners and experts. The Arduino Uno is one of the most popular microcontroller boards.
Arduino boards make electronics easy for both beginners and experts. The Arduino Uno is one of the most popular microcontroller boards because it is simple, flexible, and works with many sensors and modules. If you are new to Arduino, learning about the Arduino Uno pin diagram and configuration is important.
This guide will explain the Arduino Uno board, its pins, and how it compares to other models such as the Arduino Nano board. We will also introduce the Arduino Nano with headers by Magnificette, which is a compact and powerful option for your projects.
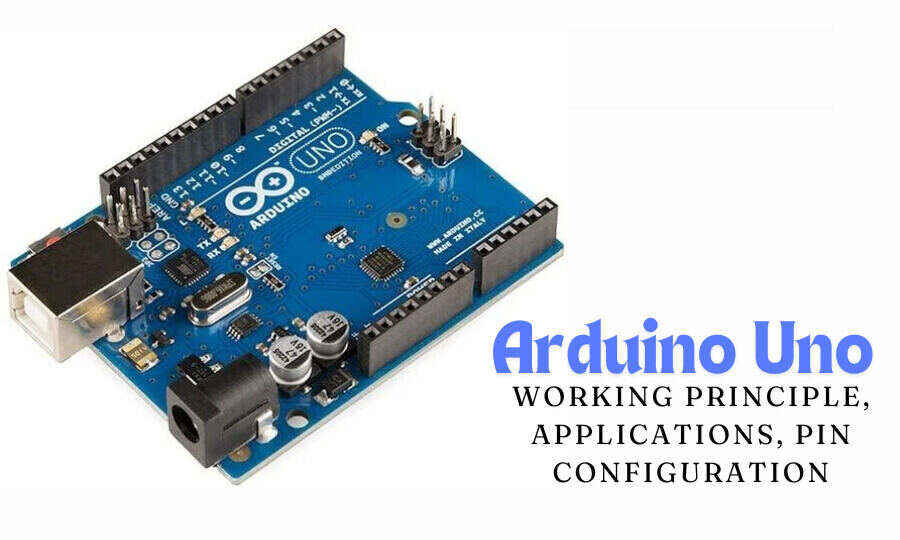
The Arduino Uno board is built with an ATmega328P microcontroller with multiple input and output pins. It can control LEDs, motors, sensors, and displays. Its key features include:
The board is open-source, easy to program, and great for all skill levels.

The six analog input pins (A0 to A5) read signals from sensors such as temperature sensors and light sensors. These pins convert the signals to values between 0-1023 using a 10-bit ADC (analog to digital converter).
The 14 digital pins (0 to 13) can be used as inputs or outputs to control devices such as LEDs, motors, and buzzers.
The Reset (RST) pin allows you to restart your project. You can also use the reset button on the board.
The Arduino Uno board is great, but some projects need a smaller and more flexible option. That’s where the Arduino Nano with Headers by Magnificette comes in handy.
If you need a compact yet powerful board, try the Arduino Nano with Headers by Magnificette.
Both the Arduino Uno board and the Arduino Nano board work well, but they serve different needs.
Feature |
Arduino Uno Board |
Arduino Nano Board |
| Size | Bigger | Smaller |
| USB Port | Standard Type-B | Micro-USB |
| Breadboard Compatibility | Needs jumper wires | Fits directly |
| GPIO Pins | 14 Digital, 6 Analog | 14 Digital, 8 Analog |
| Best For | Beginners, general use | Compact projects, prototyping |
If you’re just starting, the Arduino Uno board is the easiest to use. But if you need a compact, solderable, and powerful board, the Arduino Nano Every with Headers is a great choice.
Learning about Arduino Uno pin diagrams and configurations is key to making projects efficient. From simple LED circuits to automation systems, knowing what each pin does will help you a lot.
For projects that require a smaller board with the same power, the Arduino Nano Every with Headers by Magnificette is a great choice. It’s compact, pre-soldered, and great for advanced applications.
Ready to improve your projects? Get the Arduino Nano with headers from Magnificette today and make your electronics smarter!
You might read like this – PCB Connector Types